


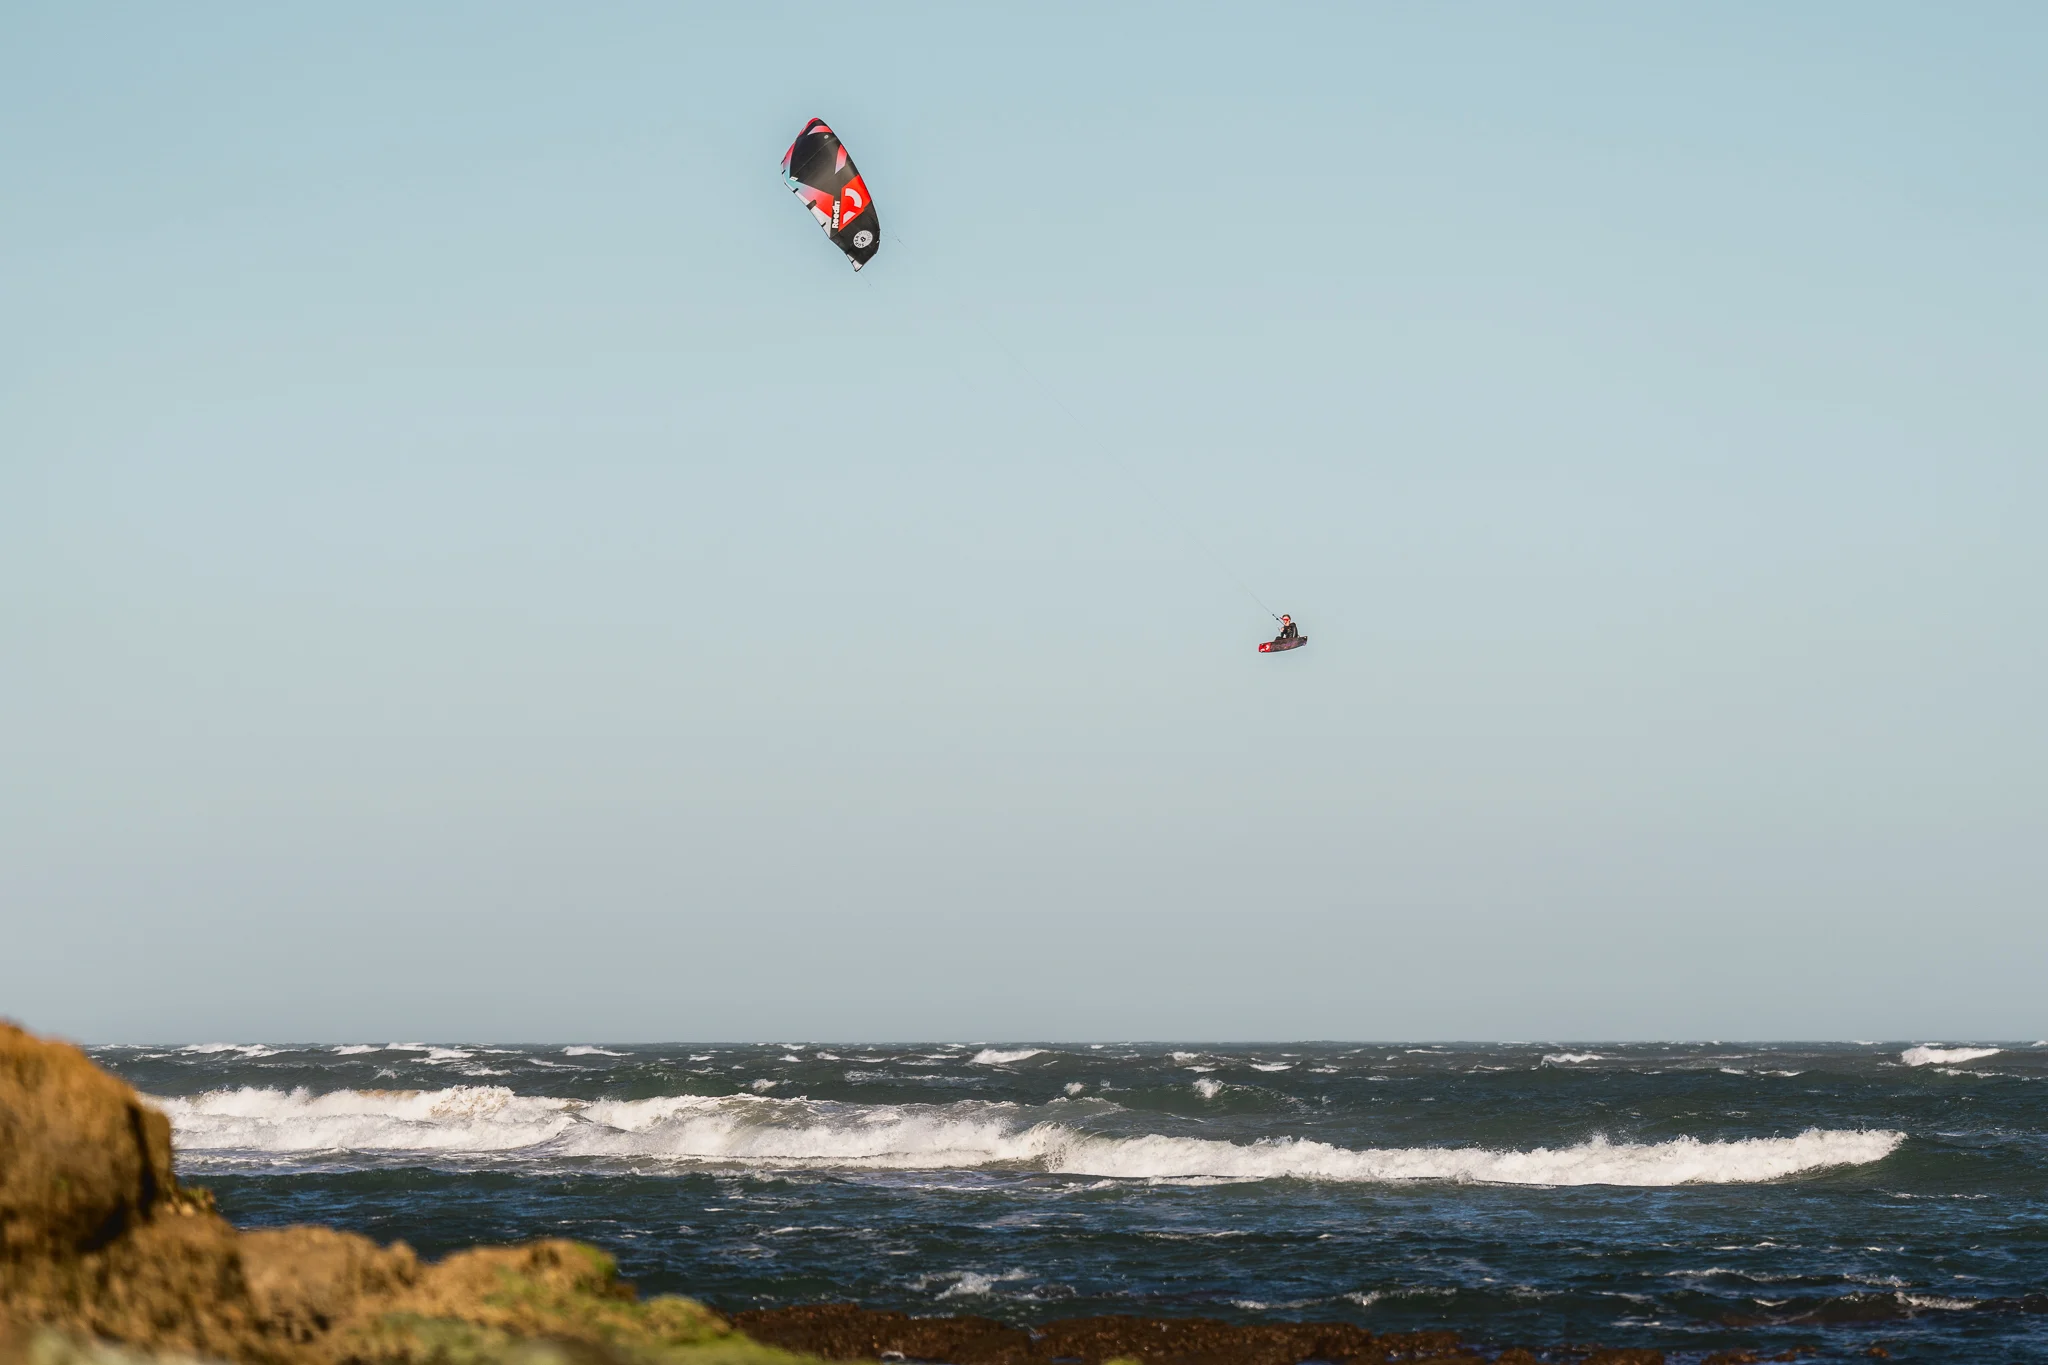
Salt and sand are the silent killers of high-performance kiteboarding gear. Without proper maintenance, even the most expensive setup can suffer premature wear or, worse, an unexpected failure while you’re far from shore. This guide covers essential inspection and maintenance routines to ensure every session is safe and your equipment stays in peak condition for years to come.
Kite Care and Regular Inspections
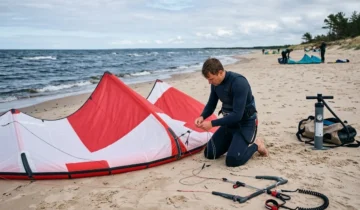
Your kite is your engine, and its specialized fabric requires diligent care. When saltwater evaporates on the canopy, it leaves behind microscopic salt crystals. These crystals act like sandpaper, grinding into the fibers and gradually weakening the material.
Always rinse your kite with fresh water after use, particularly before long-term storage. It is vital that the kite is completely dry before being packed away; storing damp gear promotes mildew growth and can cause the fabric coating to delaminate. To keep your kites in top shape for multiple seasons, perform these regular checks:
- Canopy and Seams: Inspect the fabric for “pinholes” or small snags. Under the high tension of a session, a tiny puncture can quickly unzip into a catastrophic tear.
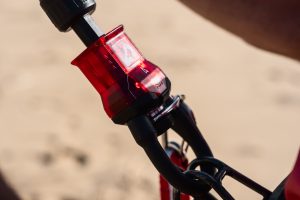
- Valves: Check that valves are clean and the seals are airtight. Avoid leaving your kite in a hot car, as extreme temperatures can degrade the adhesive holding the valves to the bladder.
- Leading Edge: Look for abrasions on the dacron, especially along the scuff pads, to ensure the structural integrity of the frame isn’t compromised.
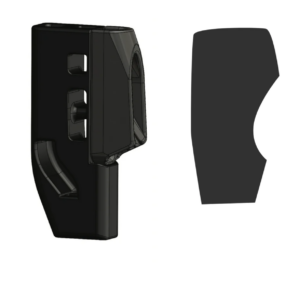
-
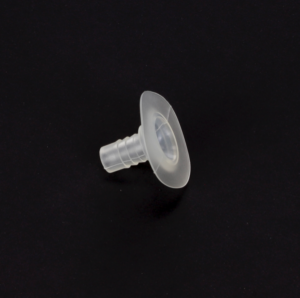
One pump straight valve
10.00€
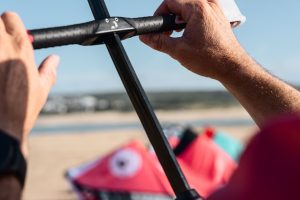
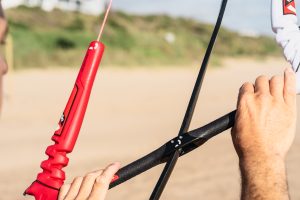
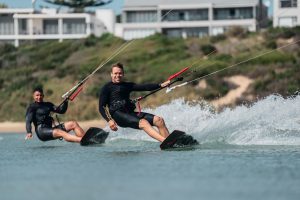
The Control Bar and Lines: Your Connection to Power
Proper maintenance of your control bar and lines is a matter of life and death. A significant number of kiteboarding accidents are caused by equipment failure that prevents the kite from depowering or flagging out. To stay safe, always prioritize kiteboarding safety principles.
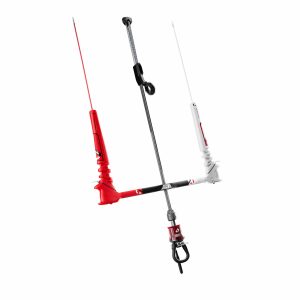
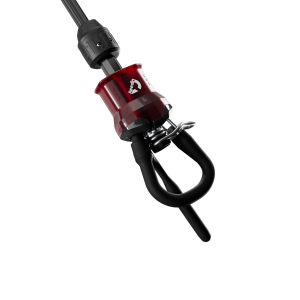
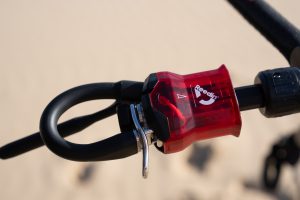
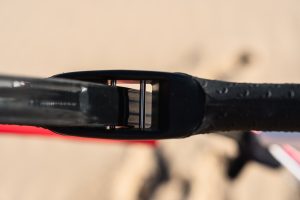
Rinse your bar and lines thoroughly with fresh water after every session to prevent salt crusting, which can jam the safety release mechanism. Inspect your flying lines for knots; even a small “wind knot” can reduce a line’s breaking strength by up to 50%. If you notice fraying or “fuzzing” on the lines, replace them immediately to maintain precise kite control. Modern setups, like the DreamStick X, utilize SK99 flying lines, which offer superior stretch resistance and a longer service life.
-
![REEDIN DREAMSTICK X 2026]()
![REEDIN DREAMSTICK X 2026]()
![REEDIN DREAMSTICK X 2026]()
![REEDIN DREAMSTICK X 2026]()
![REEDIN DREAMSTICK X 2026]()
![REEDIN DREAMSTICK X 2026]()
![REEDIN DREAMSTICK X 2026]()
![REEDIN DREAMSTICK X 2026]()
![REEDIN DREAMSTICK X 2026]()
![REEDIN DREAMSTICK X 2026]()
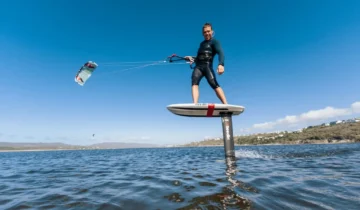
REEDIN DREAMSTICK X 2026
639.00€ -
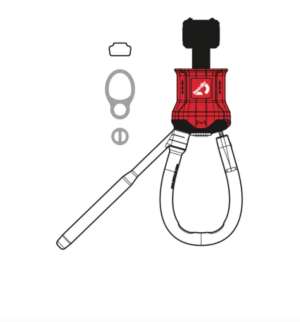
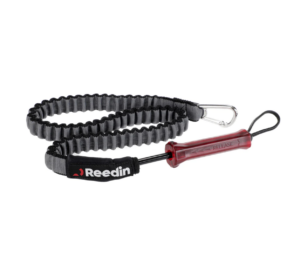
Quick Release complete DSV1/DSV2
129.95€ -

Monobloc Depower rope DSX
29.95€
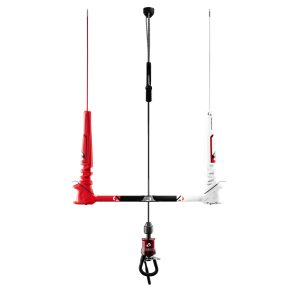
Explore our full range of control bars and systems to ensure your steering remains crisp and reliable.
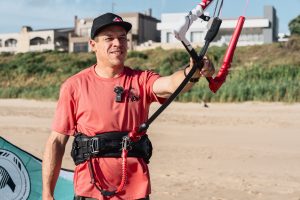
When to Perform DIY Repairs
Many minor issues can be addressed at home or on the beach if you have the right spare parts in your kit. Addressing small signs of wear immediately prevents them from turning into expensive failures on the water.
- Board Repairs: Minor dings or scratches on a twin-tip rail should be sealed with epoxy resin to prevent water from wicking into the core.
- Valve Replacement: If a valve starts to peel or leak, it can usually be replaced with an adhesive “stick-on” valve—a straightforward repair for any kiter.
- Consumable Components: Keep an eye on your depower cord, chicken finger (security pin), and pigtails. These parts are designed to be replaced periodically as they show signs of friction wear.
For major structural damage—such as tears in the leading edge dacron or bladder blowouts—always consult a professional repair loft to ensure the kite can still handle high-pressure inflation.
-
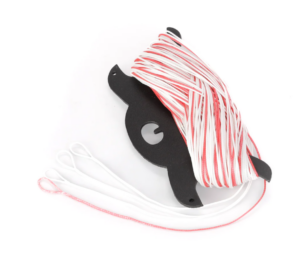
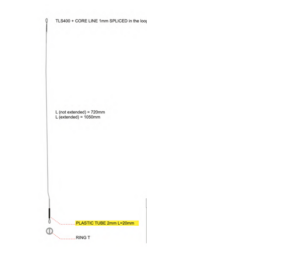
Flying line set 22+2m back lines
110.00€
Storage and Transportation
How you store your gear between sessions is just as important as how you use it. The ideal environment is cool, dry, and dark. Continuous exposure to UV radiation makes kite fabric brittle and prone to tearing.
Avoid leaving gear in a vehicle during the heat of the day, as thermal expansion can cause bladders to pop or valves to unstick. When packing your kite, use a loose rolling technique rather than tight folding to prevent sharp creases that can weaken the canopy coating. For more advice on gear logistics, see our guide on kite packing and transport.
Consistent maintenance means less time worrying on the beach and more time enjoying the water. Before your next session, take five minutes to inspect your kit. If you need new lines, valves, or hardware, you can find everything in our spare parts category.
 No products in the basket.